Great conference room photos
![]()
Using
PhotoShop layers to 'light' a room: an example![]()
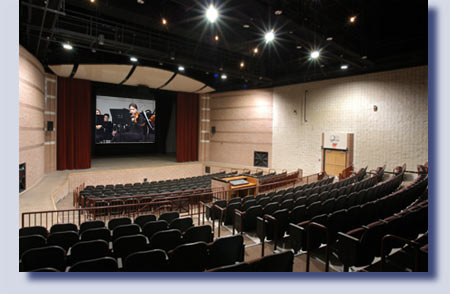
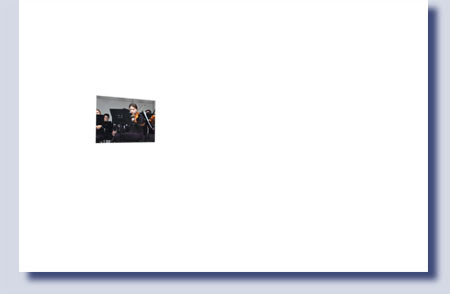
Here's a photo I shot for Sound Vision, Inc. of
a new high school auditorium in Marengo, Illinois.![]()
The
top image on the right is the finished shot. (If you'd like to see it a little
larger, click
here.)![]()
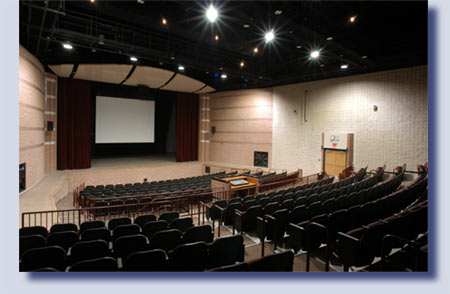
At right
is what the base layer looks like. It's the darkest exposure that I used.![]()
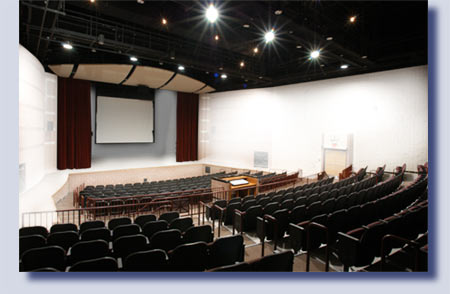
Here's
the next layer up: a brighter exposure for the seating, screen and ceiling. I
wanted to keep the walls darker, so I removed those sections of this layer almost
completely. I also partially erased some of the seating area
so the final density is in between this exposure and the darker layer below. Finally,
I painted in the sides and top of the projection screen to avoid a white line
between the screen image and the screen's black borders. ![]()
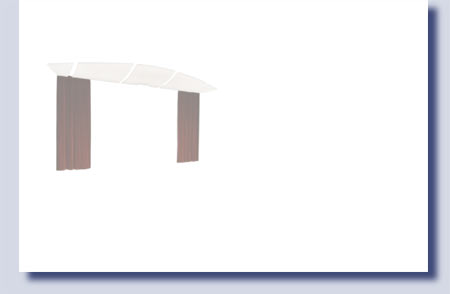
I added an even brighter layer for the curtains
and proscenium, then deleted all but these elements. But then I dropped the opacity
back to 50% because I decided they were too bright. ![]()
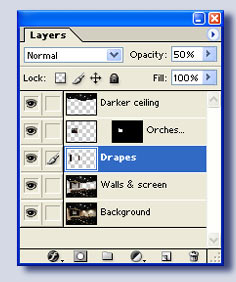
Now
let's take a look at what the PhotoShop Layers menu looks like for this image.
It shows these five layers.
.
At right is the orchestra screen image, "pasted
into" a clipping path drawn on the inside of the screen. This one had to
be simulated, so I added a slight amount of blur and noise to help it blend in
with the rest of the photo. I also brightened the center a bit with the dodge
tool so it would look more realistic.![]()
I
thought the ceiling with the catwalks was too prominent in the "walls &
screen" layer, so I pasted a copy of the background layer on top of everything,
then deleted all but the ceiling. Then I lowered the layer's opacity to get just the effect
I wanted.![]()
I
hope these examples are helpful. If you have any questions, please call me at
847-749-2424![]()
Click for more
examples of finished photos created this way